
Reviewed · THAI COSTUME RENTAL & PHOTOSHOOTS
Bangkok: Instagram Tour with Professional Photographer
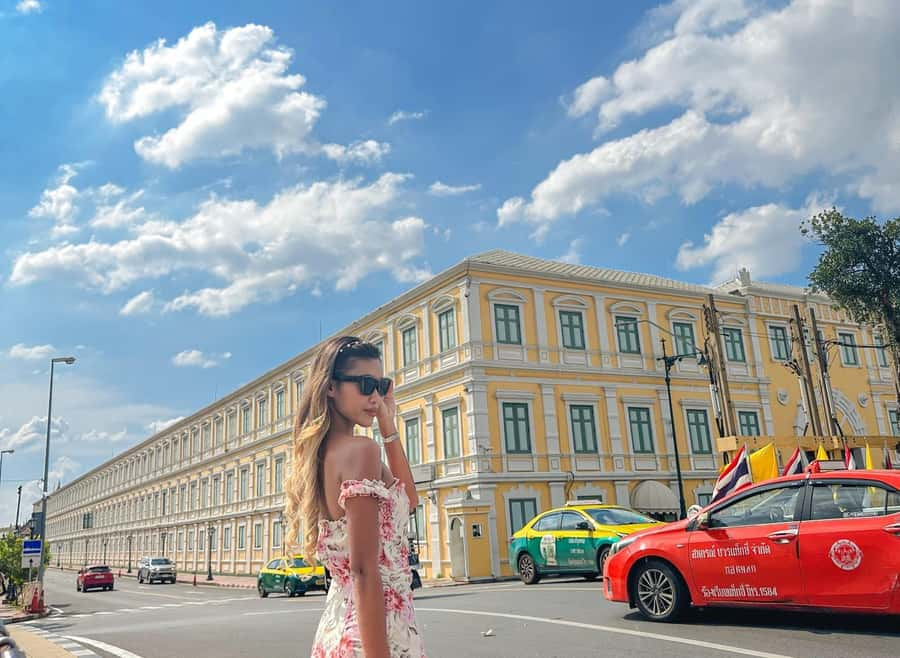
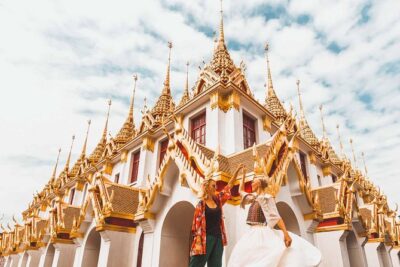
Bangkok can be a camera challenge, with heat, crowds, and never enough time. This Instagram photo tour turns that chaos into a clear photo plan, with a professional photographer and a licensed guide steering you to the best photo stops. You get a slow-paced walk with 15+ locations, plus tips for how to pose and shoot so your photos look intentional, not accidental.
I especially like that you are not just watching landmarks go by, you are actively getting photographed, including throughout the tour. And the tuk-tuk rides help you cover ground without feeling like you are sprinting across the city. One consideration: it is not built for wheelchair users or people with mobility impairments, and the day can be hot, so you need comfortable shoes and breathable clothes.
In This Review
- Key things to know before you go
- 5 hours to get photos that look planned
- Meeting at King Rama III and getting oriented fast
- Wat Saket: golden viewpoints and an easy win for photos
- Wat Suthat and the Giant Swing: dramatic angles, strong visuals
- Wat Arun: where you can turn a river view into a standout shot
- Grand Palace upgrade: worth it for iconic photos, plan for dress rules
- Getting photographed throughout the tour, not just at one stop
- What to bring, what not to wear, and how to stay comfortable
- Transportation and pacing, why it feels easier than self-guided
- Price and value: when $385 makes sense
- Who should book this Instagram tour
- Should you book it or plan your own Bangkok photo day?
- FAQ
- How long is the Bangkok Instagram photo tour?
- Is the Grand Palace included?
- What does the tour price include?
- Where do I meet the guide and photographer?
- What should I bring for the tour?
- What is not allowed during the tour?
Key things to know before you go
- Private 5-hour photo session with a pro photographer and a licensed guide
- 15+ photo stops across classic temples and the city’s most camera-friendly corners
- Tuk-tuk transport to move between photogenic areas efficiently
- Your guide takes photos of you too, so you are not stuck trying to work your phone one-handed
- Grand Palace upgrade is optional, but entrance fees are extra if you choose it
- Rules inside temples include no flash, and modest dress with no shorts or short skirts
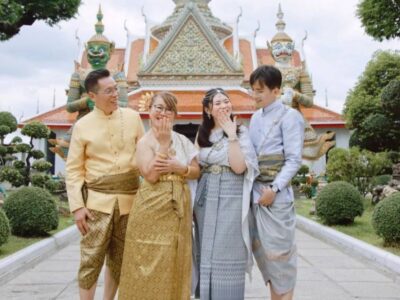
Dress the part for photos
5 hours to get photos that look planned
This is a straightforward idea done well: if you want great Bangkok photos, you need both the locations and the people who know how to frame them. You start at the statue area of King Rama III, then you move through the main temple stops in a way that feels calm, not rushed.
The “slow-paced” part matters more than you might think. Bangkok can steamroll your attention, and when you are thinking about logistics, you forget to look up, step sideways for light, or stop for the exact angle. Here, the rhythm is set for photography, so you can actually pay attention to details like reflections, temple silhouettes, and the way morning or afternoon light hits stone.
Also, the fact that you get photographed repeatedly means you are not only collecting wide shots. You should leave with a mix: temple views, city context, and images where you look like you belong in the scene.
Meeting at King Rama III and getting oriented fast
You meet in front of the Statue of King Rama III. From the start, the tour is designed to help you get your bearings and settle into “camera mode” quickly. If you have ever tried to self-tour Bangkok with a smartphone and ended up with the same five angles, you will feel the difference immediately.
You also avoid one common Bangkok problem: spending the first part of the day figuring out how to move between places. This tour uses a tuk-tuk between selected stops, which keeps things efficient while still letting you enjoy the street-level atmosphere.
Practical note: bring your charged smartphone even if you use a camera. A lot of your best results come from quick on-the-spot framing and switching angles fast.
Wat Saket: golden viewpoints and an easy win for photos
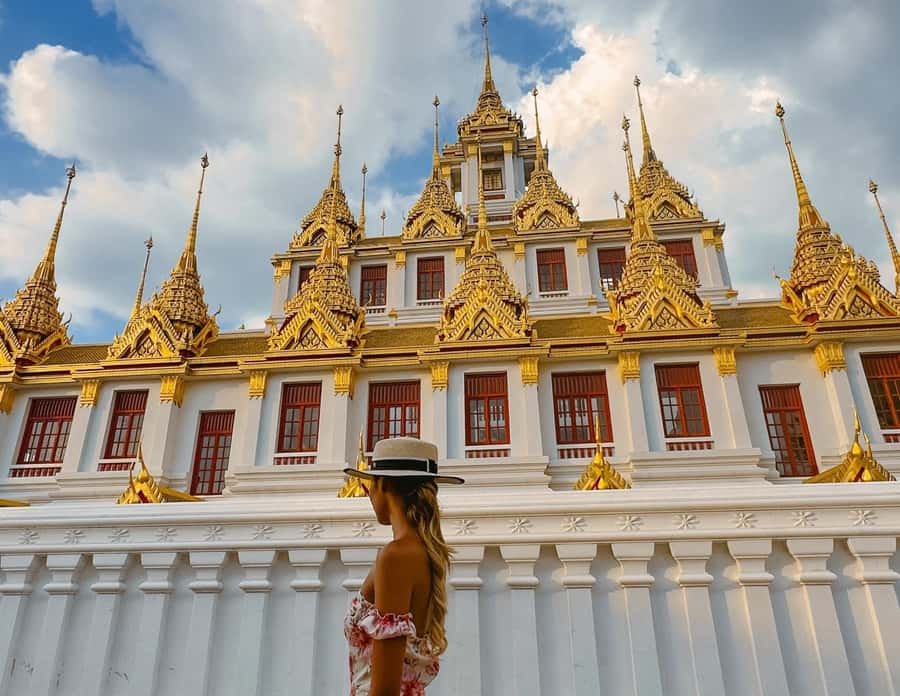
Wat Saket is one of those places that naturally photographs well, even when you are not trying too hard. The setting gives you layered views, and the walk approach adds motion and depth to your shots.
On this tour, you get a mix of guided walking and a photo stop. That combination is useful because it prevents the classic “stand there, guess, take one photo” moment. Your guide can help you spot where to stand and what to watch for, like sight lines toward the temple and the way the approach looks from different angles.
A small drawback is that this part can involve more walking than you expect. The tour is only 5 hours, but temples stack up quickly. Wear shoes that you already trust.
Plenty else to do around Bangkok

Wat Suthat and the Giant Swing: dramatic angles, strong visuals
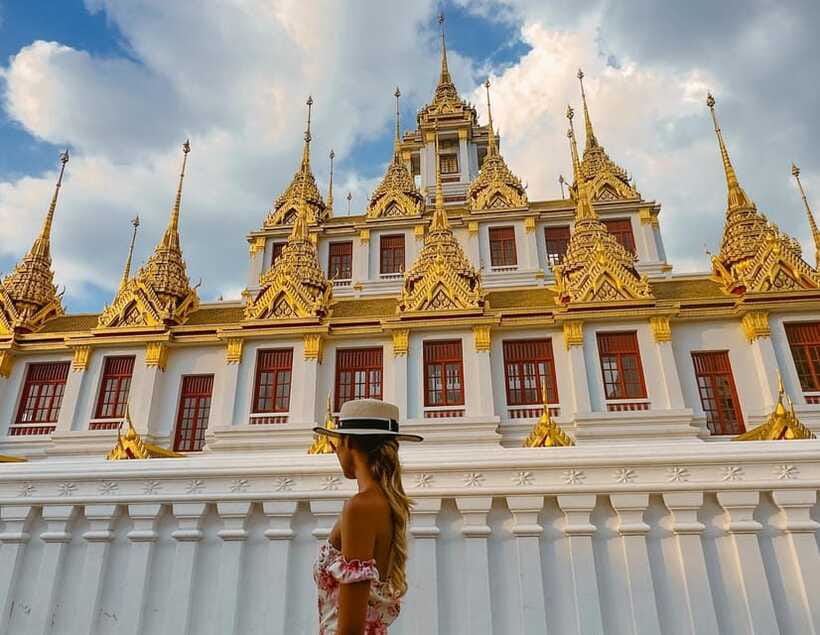
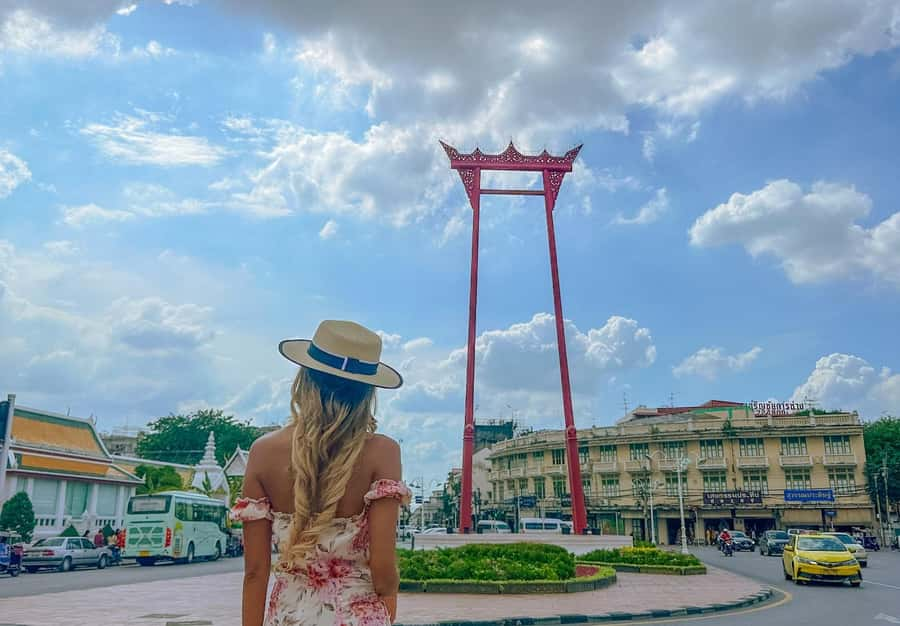
Wat Suthat and the Giant Swing are made for Instagram-style composition. Big shapes, strong lines, and a temple setting that frames you instead of just sitting behind you.
This stop is ideal if you want photos that feel cinematic, not just documentary. A pro photographer helps here because the goal is not only to capture the swing, it is to balance scale. You want to feel small next to the structure, or centered with the right amount of negative space so the photo looks intentional.
The way this tour flows also helps. You are not dropped in alone and told to figure it out. You get direction on where to pause and how to shoot without wasting time, especially important when you are dealing with bright sun and quick changes in crowds.
Wat Arun: where you can turn a river view into a standout shot
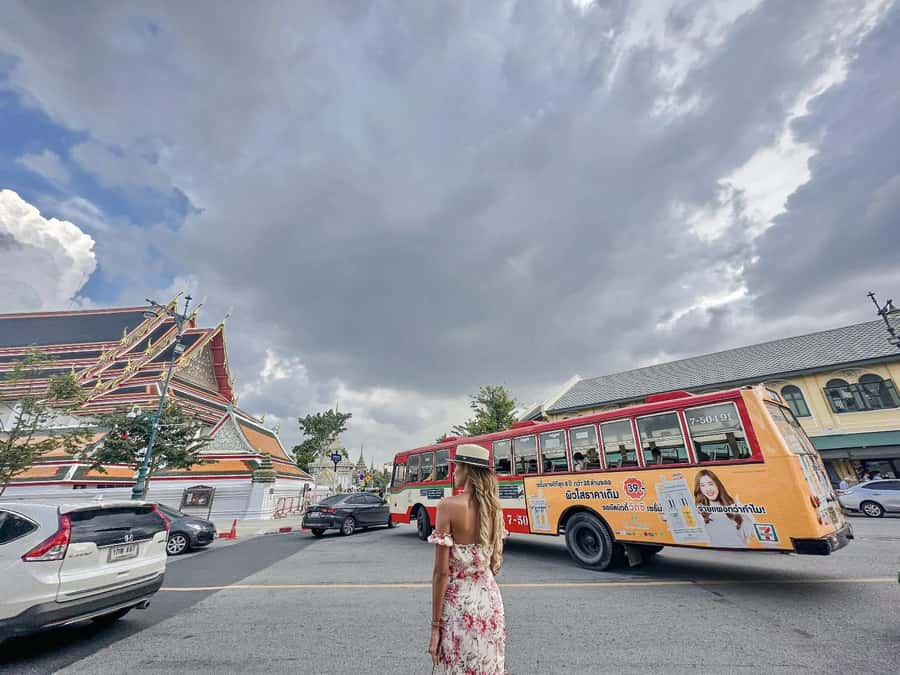
Wat Arun is one of Bangkok’s most recognizable temple silhouettes, and it is a popular target for a reason. The tower shapes, reflections, and the way the temple sits in relation to the water give you lots of “natural photo setups.”
Here is what I like about having a guide and photographer at Wat Arun specifically: you learn how to manage your perspective. With temples like this, the same subject can look flat or bold depending on where you stand and how you angle your phone or camera.
Also, Wat Arun tends to attract people who are also trying to photograph. A pro team helps you find ways to shoot around that, so you spend more time producing photos and less time waiting for a clear frame.
Grand Palace upgrade: worth it for iconic photos, plan for dress rules
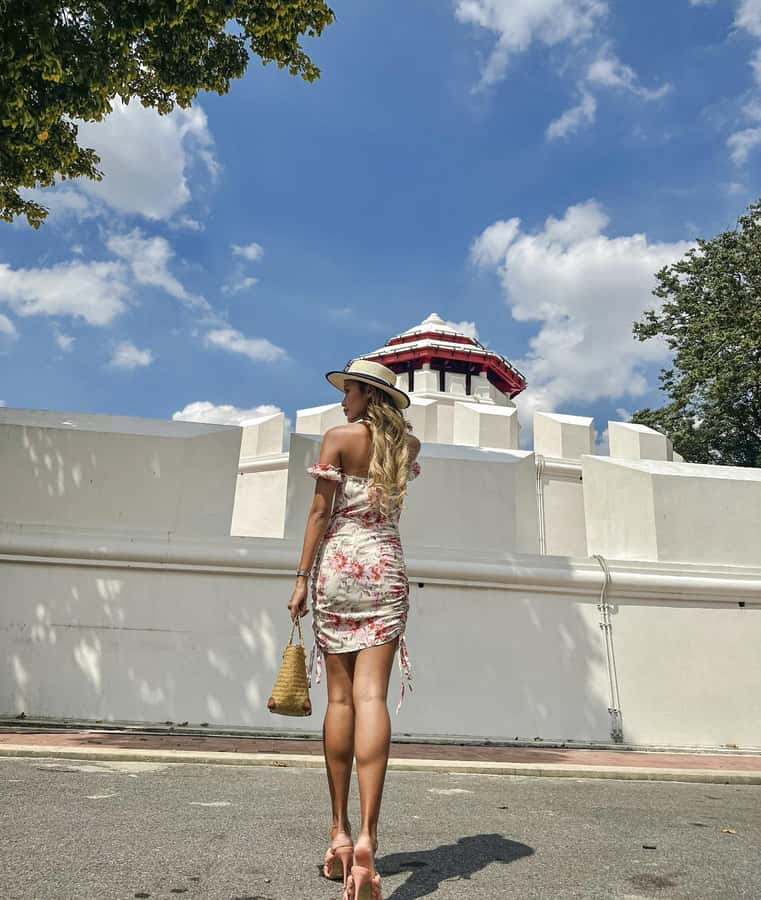
If you upgrade, you add the Grand Palace stop. This is the obvious name-brand Bangkok moment, and it is exactly the kind of place where a guide’s context can sharpen your photos. You are not only shooting the big wow factor, you are also learning what you are looking at, which makes you slow down and notice textures and patterns instead of just chasing the postcard.
Two important practical points:
- Entrance fees are not included for the Grand Palace upgrade. You will pay those separately.
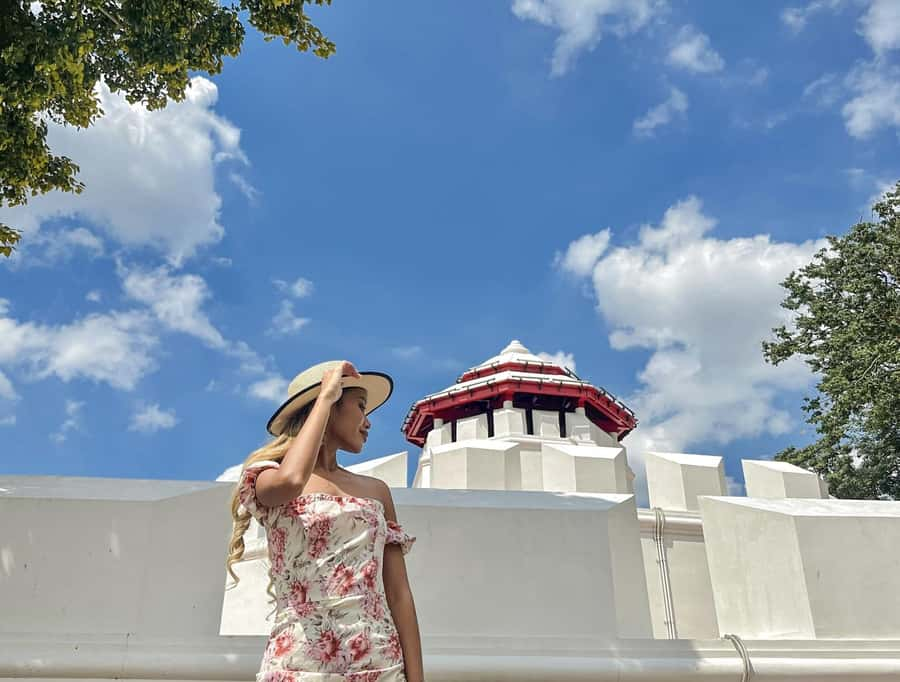
- Temple rules matter: you should expect modest dress and you will want to follow the no-flash rule. In this tour, flash photography is not allowed.
I think this upgrade is best if you want one or two truly iconic photos in your set, and you are happy paying extra for admission to get that “I was there” anchor.
If you only want temple photos and you are already budget-conscious, you might prefer staying with the core temple sequence and skipping the upgrade.
Getting photographed throughout the tour, not just at one stop
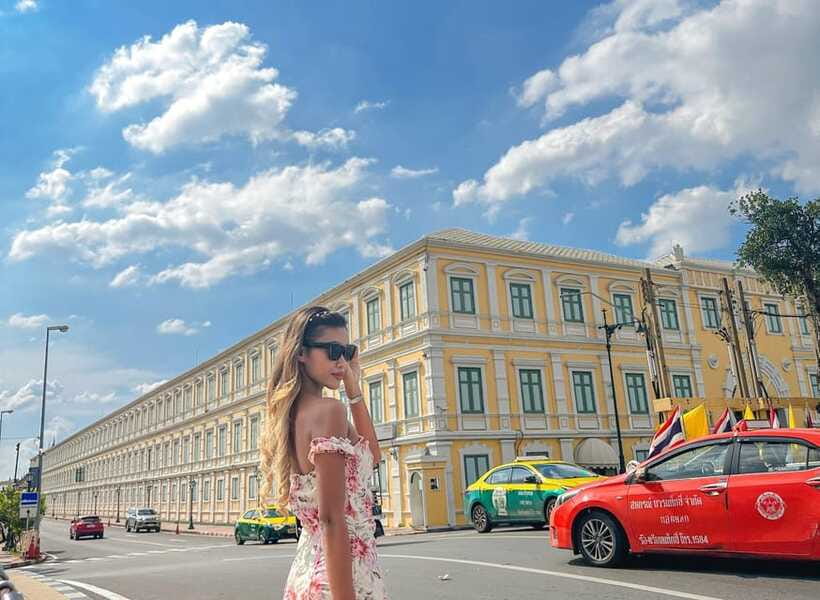
The biggest value of this experience is not only that you visit photogenic places. It is that you get photos of yourself while moving through them. That turns the whole trip from “I hope my photo turns out” into something closer to a mini session.
In practice, this means you are less likely to miss shots because you were busy walking, reading signs, or searching for a perfect angle. The photographer and guide can help you with posture, where to stand, and how to frame yourself with the temple in the background.
From the guide side, Elena is mentioned in the reviews as welcoming and making the experience feel relaxed and fun. Peem is also mentioned, tied to the photographer side of the setup. Even if you are not using their exact style, you can expect that you are working with a real team that knows how to keep momentum while still giving you time for good frames.
If you are an aspiring influencer, this is even more useful because you are building a consistent look across multiple locations instead of collecting random one-offs.
What to bring, what not to wear, and how to stay comfortable
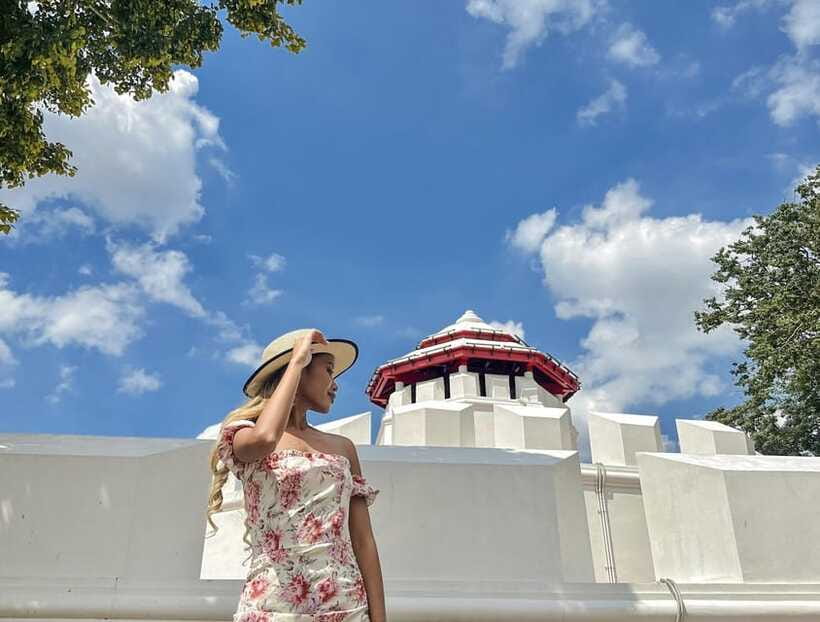
This tour is practical about what you need. Bring comfortable shoes, a water bottle, and a camera or charged smartphone. The day can be hot and humid, so staying hydrated is not optional.
Dress and behavior rules matter, and they can affect what photos you get:
- Shorts and short skirts are not allowed.
- Smoking is not allowed.
- Flash photography is not allowed.
- You should dress modestly for temples.
A small tip that actually helps your photo results: bring something you can change into if you want more variety. You might end up sweating through your first outfit, and having a backup makes it easier to keep the photo set looking fresh.
Transportation and pacing, why it feels easier than self-guided
Instead of bouncing between stops with full self-planning, this tour mixes walking with tuk-tuk rides between selected locations. That matters because Bangkok distances feel longer when you are constantly thinking about routes, street crossings, and where you can safely stop.
You also get a private group setup, which means you are not waiting for a big crowd to finish one photo angle. That keeps the flow smooth, especially around popular temple areas where waiting can eat your time.
Another good point: you are provided with drinking water, which is one less thing to manage.
Price and value: when $385 makes sense
At $385 per group up to 1, you are paying for a bundled setup: a private guide with license, a professional photographer, temple tickets for the included temples, tuk-tuk rides, plus drinking water, all in a 5-hour window.
So is it worth it? For solo travelers, it can be a good value if you want photos that actually look like a planned set. If you normally spend a day walking and end up with only a handful of good images, paying for guidance and photography can save you time and frustration.
If you are traveling with friends and you all want portraits, that is where cost splits can make it even more reasonable. If your budget is tight and you are fine with capturing your own photos casually, a self-guided temple day will be cheaper. But you will not get the same help with posing, framing, and consistent shot variety.
Also, this tour includes a private licensed guide in English. That combination is often what elevates the experience from photos of buildings to photos that feel connected to place.
Who should book this Instagram tour
Book it if:
- You care about photos, not just sightseeing.
- You want a clear plan for temple stops that are proven camera subjects.
- You would like someone to direct you so you are not stuck fiddling with your phone.
- You are comfortable walking on a short itinerary with temple steps.
Skip it if:
- You have mobility limitations that make walking through temples difficult.
- You want a relaxed day with no photo coaching at all.
- You dislike dress rules for temples.
Should you book it or plan your own Bangkok photo day?
I would book this if you want results fast and you do not want to waste daylight guessing at angles. The blend of 15+ photo stops, tuk-tuk transfers, and repeated portrait help is the kind of structure that turns Bangkok into a photo story instead of a checklist.
I would reconsider if you only want a couple casual photos, because $385 is real money. In that case, you might get similar scenery with your own photos, but you will lose the guided framing and the peace of mind of having a photographer handling the shot timing.
If you are deciding, ask yourself one question: do you want to spend your trip photographing, or do you want your trip to include professional-style photos as the main output? If the answer is the second one, this tour is a strong match.
FAQ
How long is the Bangkok Instagram photo tour?
The tour lasts 5 hours.
Is the Grand Palace included?
The Grand Palace visit is optional. If you choose it, you would pay the entrance fees separately.
What does the tour price include?
It includes a private licensed guide, a professional photographer, tuk-tuk rides between locations, tickets for temples (as included in the core plan), and drinking water.
Where do I meet the guide and photographer?
You meet in front of the Statue of King Rama III.
What should I bring for the tour?
Bring comfortable shoes, your camera or a charged smartphone, and water.
What is not allowed during the tour?
Shorts and short skirts are not allowed. Smoking is not allowed, and flash photography is not allowed.
The newest additions around Bangkok
- Central Thailand Walking Tour and visit Temple at Bangkok
★ 5.0 · 1 review - Private 2-Day Bangkok City Tour and Ayutthaya Tour from Bangkok
★ 5.0 · 1 review - Train Market, Floating Market, and Salt Lake Tour by driver
★ 5.0 · 1 review - Fullday Private Tour Bangkok Temple & City Tour with lunch+Amazing Bangkok Tour
★ 5.0 · 1 review - Bangkok: One Day Thai Costume Rental (Gentleman)
★ 2.0 · 1 review - Laem Chabang Shore Excursion : Shopping, Massage & Food Tasting
★ 5.0 · 1 review - Bangkok Dream World & Snow Town Theme Park Admission Ticket
★ 3.0 · 1 review - Bangkok 4 Hour Cultural & Temples Tour Private with Guide
★ 5.0 · 1 review
Thai Costume Rental & Photoshoots, compared.
️ Bangkok Private Instagram Tour: All-Inclusive
Read our review →
Professional Thai Costume Photography at Wat Arun, Bangkok
Read our review →
Thai Costume Rental + Hairdo, Makeup & Accessories
Read our review →
Browse the lists this tour appears in